Raspberry Jam
Thane Prince was the preserves judge on ±«Óãtv2's
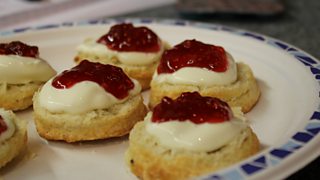
Here she shares her recipe for the perfect Raspberry Jam, taken from her new book 'Perfect Preserves.'
to be kept up to date with all cookery items.
This is on Thane's Desert Island Discs list of essentials and it is the jam she makes most often- it's best made in small quantities and eaten as fresh as possible.
Use ripe red raspberries, choosing one of the larger varieties if possible. If you are picking your own, try for a dry sunny day. You can also use thawed, frozen raspberries to make the jam, they work perfectly well.
Ingredients
Yield approx. 3 x 200ml | Keeps 6–9 months
500g raspberries
500g white granulated sugar
Preparation Method
1 . Place some clean jam jars and their lids on a baking tray and then into the oven preheated to 100C/200F/Gas 2 for 20 minutes to sterilise them. Put two to three small plates or saucers in the freezer to chill.
2 . Place the berries and sugar into a heavy bottomed steel or enamelled pan and cook over a low heat until the fruit melts and the sugar is fully dissolved. Make sure you cannot see any undissolved crystals of sugar on the sides of the pan and the back of the spoon. The jam should not feel gritty when stirred. Don’t worry that the berries break up.
3 . Once the sugar has fully dissolved, turn up the heat and bring the mixture to the boil. Cook the jam at a full rolling boil, one that can’t be stirred down with the spoon, for 5 minutes.
4 . Turn off the heat and make your first test for a set. Take a cold plate or saucer from the freezer and drop a teaspoon of jam on to it. Leave for about a minute, then push the side of the mixture gently with your finger. If you can see the surface wrinkling your jam is ready to pot.
5 . If the jam is still runny, turn the heat back on and boil for a further 2 minutes before testing again. Repeat the boil/testing process until the jam tests positive for a set.
6 . Once the jam has reached setting point, turn off the heat. Skim off any scum that has collected on the top of the jam, using a slotted spoon, rinsing it in a bowl of hot water between skims.
7 . Leave the jam to cool for 5 minutes. Take the baking tray of jars from the oven at the same time.
8 . Pot the jam into the hot jars. I use a jam funnel to help with this, but a ladle is fine. Top with the lids.
9 . When the jars are cold, label them, and check the lids are firmly screwed on. Store in a cool, dark place or a pantry or larder.
Related Links
