Marking-out tools
Woods
The following tools are commonly used for measuring and marking-out when using wood:-
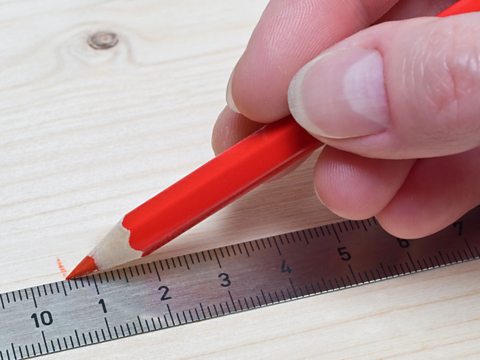
Pencil – Used to mark lines and centres for cutting or joining. Pencil marks are easy to remove afterwards. It is best to use a sharp pencil very lightly. This gives thin, light lines that don't engrave the workpiece.
Steel rules – Used to measure materials for cutting or joining. Best used flat against the side and bottom edges. This ensures that measurements are marked from a one consistent spot.
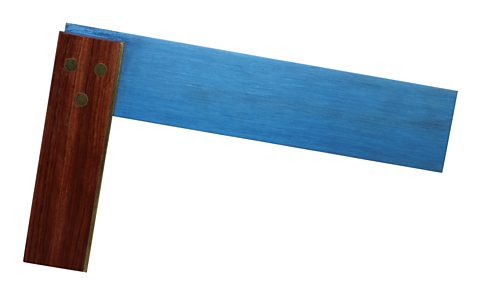
Try square – Used to help draw If the angle between two lines is a right angle, the lines are said to be perpendicular. lines on materials to mark out the sides of a woodwork joint. Best used with the brass edge flat against the side. This ensures that the line is parallel.
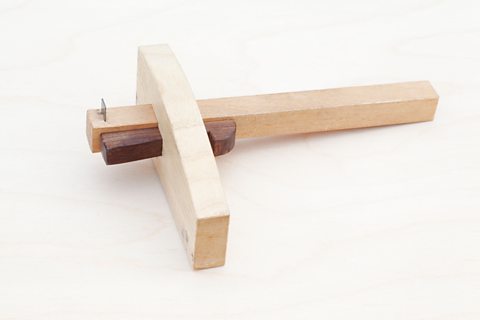
Marking gauge – Used to scribe lines parallel to edges so that waste wood can be chiselled away from a woodwork joint.
The marking gauge stock needs to be flat against the side of the workpiece. It is best not to dig the spur into the material to be cut and instead gently run it over a few times until a indented line is scored in the wood.
Cutting gauge – Used to cut a line into wood parallel to an edge to mark the bottom of a wood work joint. The stock needs to be flat against the side of the workpiece. It is important to ensure that the cutting tool is going into the workpiece and making a mark.
Mortise gauge – Used to scribe a double line parallel to an edge. The two sharp spurs should be adjusted and set to the mortise chisel's width before marking the workpiece. The mortise gauge stock needs to be flat against the side of the work piece.
It is best not to dig the spur into the workpiece and instead gently run it over a few times till a scored line is created between the two points.
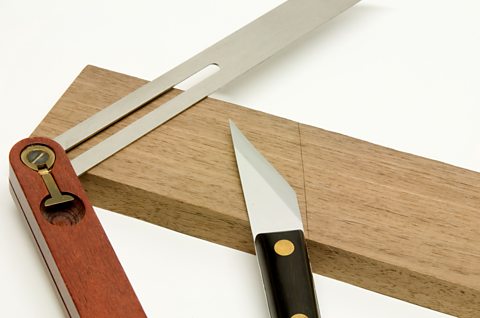
Sliding bevel – Used to set an angle for cutting waste material or marking a woodwork joint. The bevel blade can be adjusted to create the exact angle required. A pencil is then used to mark the line onto the material to be cut.