Photograms
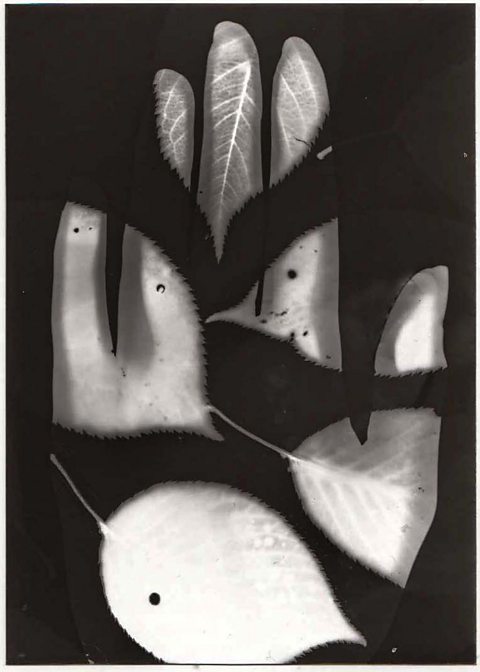
A photogram is a photographic image that is made without a camera.
How to make a photogram
- Objects are placed directly onto the surface of a light-sensitive photographic paper.
- It is then exposed to light in a A room for developing photographs, where natural light is kept out.
- The paper is then developed by using light-sensitive chemicals in the darkroom.
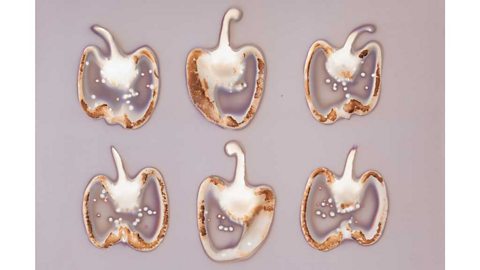
- The result is a A photographic image where the tones are reversed - so dark is light and light is dark shadow image that shows variations in tone; the range of tones depending upon the How see-through an object is of the objects used.
- The shadows or A solid, dark image of a subject against a brighter background are where the objects have prevented light from reaching the surface of the paper.
- Areas of the paper that have received no light appear white, with areas exposed through transparent or semi-transparent objects appearing grey.
- Plan the photogram. Consider what objects to use and where they will be placed.
- Photographic paper must be¬Ýlight-sensitive side up.
- Experiment using semi-transparent and solid objects¬Ýto see the different effects.
- Try cutting out paper¬ÝAn image cut into card or another material that can then be used to make repeated identical images and shapes to use on the photogram.
Cyanotype
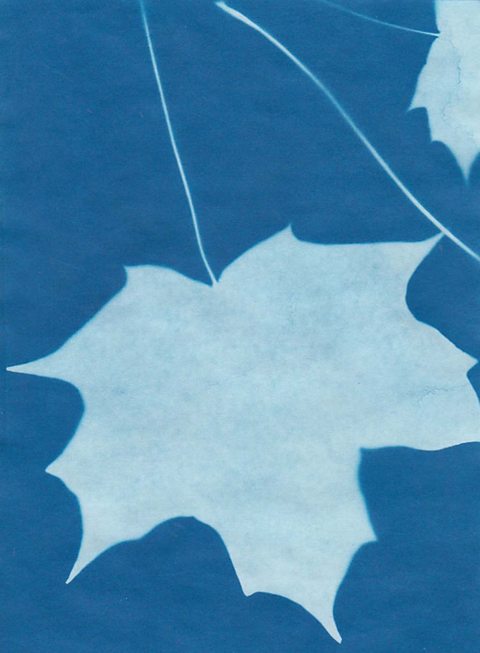
A cyanotype is a photogram that produces a cyan coloured print. Cyan is a bright green-blue colour. A darkroom isn’t needed to develop a cyanotype.
How to make a cyanotype
- Stick a sheet of light-sensitive cyanotype paper to a drawing board (blue side up) and secure with clear tape.
- Place a stencil, acetate or objects on top of the paper and secure with clear tape - if possible the tape needs to be clear so the light gets through.
- Expose the paper to strong sunlight for two to five minutes, until the blue paper turns a pale blue.
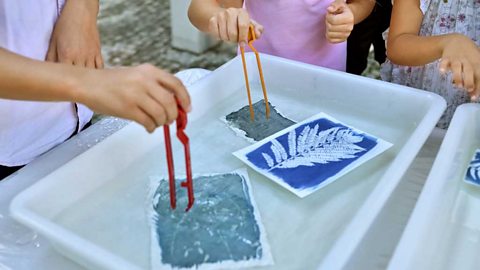
- Remove the acetate, objects or stencil from the paper and soak the print in a tray of water for about one minute.
- Gently tip the tray from side to side. The image will sharpen as it dries.
- Place the wet print onto newspaper to dry.
Tips for photogram and cyanotype
- Work quickly - as soon as the paper is exposed to light it will begin to develop.
- Be organised - have everything ready before starting.
- Experiment with placing different types of objects onto cyanotype paper - solid and transparent objects will give different results.
- When exposing cyanotype paper to the sun, do not place in a shadow as it will not develop.
- Place cyanotype paper on a windowsill to expose to sunlight - this will take a little longer for exposure to occur.