Vegan Halloween marble cake
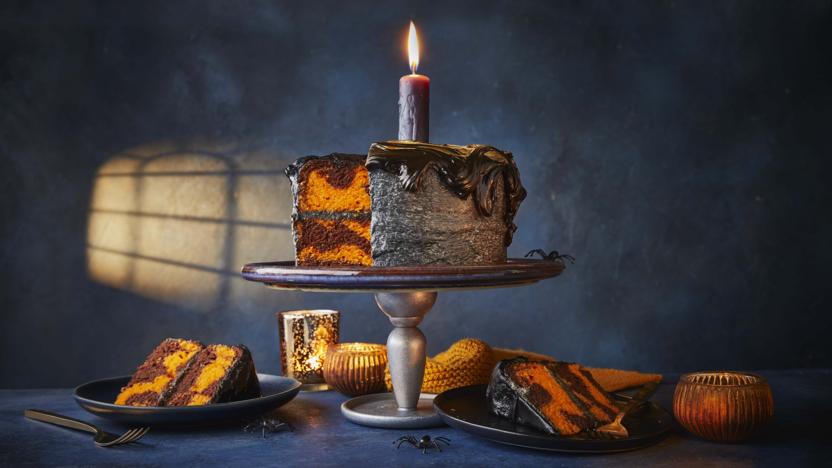
This spooktacular Halloween cake is made without dairy or eggs, making it great for vegans or those with food allergies. Get messy with the dark chocolate drip to create this fabulous melted black candle design. Decorate the top of the cake with a black, white or gold candle and around the cake with creepy skeletons, spiders and cobwebs for extra drama.
Ingredients
For the cake
- 185g/6½oz unsweetened soya yoghurt, at room temperature
- 185ml/6½fl oz unsweetened soya milk, at room temperature
- 2 tsp apple cider vinegar or distilled white vinegar
- 140ml/4¾fl oz neutral oil (such as vegetable), plus extra for greasing
- 1 tbsp vanilla extract
- 350g/12oz self-raising flour
- 1 tbsp cornflour
- 1 tsp baking powder
- 275��/9¾�dz� caster sugar
- pinch fine salt
- 4 tbsp unsweetened soya milk, hot
- 3 tbsp cocoa powder
- ½ tsp orange gel food colouring
For the black buttercream
- 250g/9oz vegan baking spread, softened
- 500g/1lb 2oz icing sugar, sifted
- 2–3 tsp black gel food colouring
- 2 tsp vanilla extract
- 1 tbsp unsweetened soya milk
For the melted candle drip
- 150g/5½oz vegan dark chocolate
- 25g/1oz vegan butter
- 1 tsp black gel food colouring
Method
To make the cake, grease and line two 15cm/6in cake tins with baking paper. Preheat the oven to 190C/170C Fan/Gas 5.
Stir together the yoghurt, milk and vinegar in a jug. Leave to stand for 10 minutes until slightly curdled. Whisk in the oil and vanilla extract.
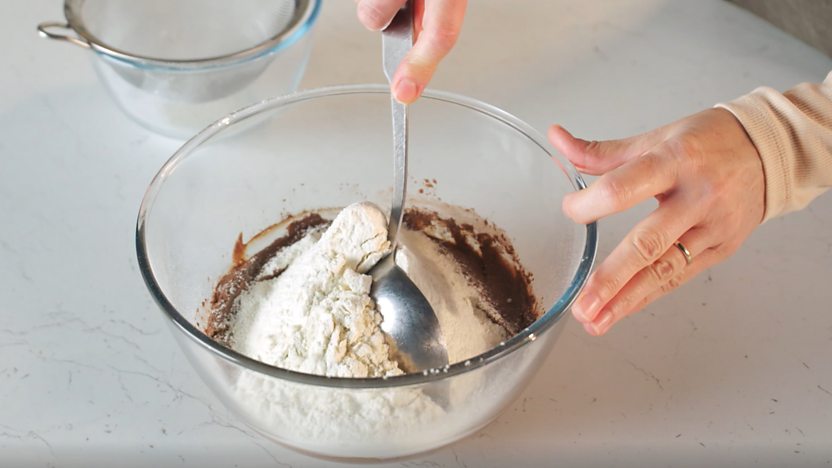
Sift the flour, cornflour, baking powder, caster sugar and salt into a large bowl. Pour the milk mixture into the flour mixture and beat with a balloon whisk for 30–40 seconds, or until smooth. Do not overmix. Transfer one third of the cake batter into a separate bowl.
Stir the hot milk and cocoa powder together in a small bowl until smooth. Add this to the smaller portion of batter and fold in until incorporated, taking care not to overmix. Add the orange food colouring to the larger bowl of batter, folding gently so as not to over mix.
Divide half of the orange batter between the two cake tins. Then divide half of the chocolate batter between the two tins, directly on top of the vanilla. Repeat the process, layering the remaining orange batter on top of the chocolate and finishing with the chocolate batter. Once all the batter is used up, use a cocktail stick or the handle of a teaspoon to swirl the batters together in the tins. Do this just a few times or the layers will mix too much and won’t have much of a contrast. Knock the base of the tins on the worktop to remove any air bubbles in the batter.
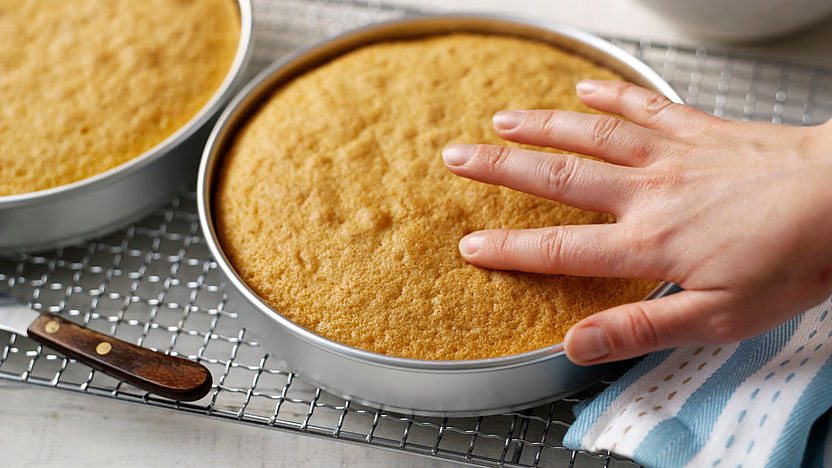
Bake on the middle shelf for 40–45 minutes or until a skewer inserted into the middle of the cake comes out clean, or with just a few moist crumbs attached. Remove the cakes from the oven and leave to cool in the tins for 10 minutes. Carefully run a knife around the edge of the pan to loosen and then turn the cakes out onto a wire rack to cool completely.
Meanwhile, to make the buttercream, beat the vegan butter in a stand mixer fitted with the paddle attachment. Once it turns slightly pale and creamy, gradually add the icing sugar and beat until incorporated. Add the black gel food colouring, vanilla and milk. Continue to beat until everything is well mixed. The icing will look grey at first. Scrape the buttercream into a microwave-safe bowl and microwave on full power for 30–40 seconds or until partially melted. Stir well and you should notice the icing gradually begins to turn darker.
Mix well and place the buttercream in the fridge to firm up for a few hours while the cakes cool. The colour will continue to develop as it sits. Stir the buttercream to check it is a spreadable consistency. If not, chill a little while longer or if it’s too firm, leave on the worktop to come to room temperature. Lightly beat the buttercream to create a creamy consistency but do not overbeat as it can turn pale again as the air is incorporated.
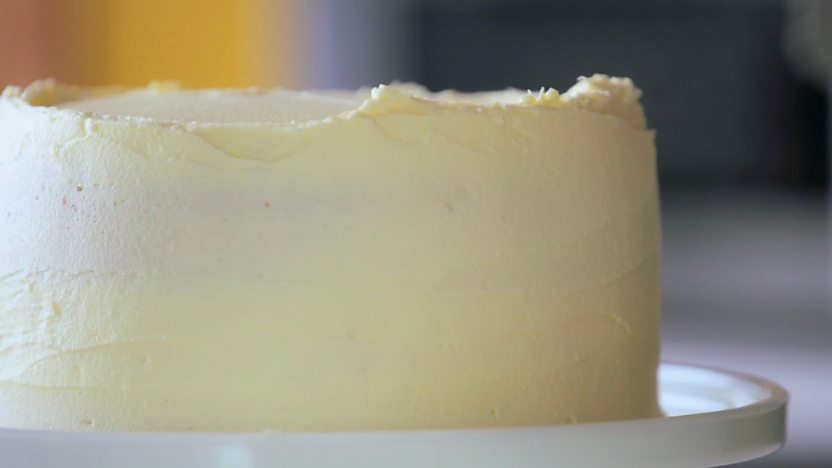
If the cakes have domed a little on top, trim using a large, serrated knife to create a flat surface. (It can be crumbled over ice cream later!). Place one of the cakes on a cake plate or board, sticking it down with a bit of buttercream. Top the sponge with a third of the buttercream and spread evenly. Place the second sponge on top and press down gently to sandwich the cakes together. Spread the remaining buttercream in a thick layer all over the top and sides of the cake. Chill the cake in the fridge for 30 minutes until the icing hardens a little.
To make the melted candle drip, microwave the chocolate, vegan butter and food colouring in a microwave-safe bowl in 15-second bursts, stirring gently until completely melted. Place this mixture into a squeezy bottle or in a sandwich bag with a very small snip in the corner.
Remove the cake from the fridge and begin to drizzle the melted candle drip around the edges of the cake. Since the cake has been chilling, the chocolate should harden quickly. Continue to layer the chocolate to build up what looks like melted candle wax. No need to be precise and the messier it is, the spookier it will look. Push a black, white or gold candle into the centre of the cake to create the ‘wick’ to light before serving.
Recipe Tips
It's important you use the high-quality gel food colouring specified in the recipe – cheaper varieties aren't concentrated enough (so you have to add a lot more and the extra liquid affects the texture of the finished icing).
Summer
Recipes
Related Recipes