Apart from looking in the general direction of the night sky, it can be a bit difficult to know where to start when stargazing.
Don't worry, we've got your back. Once you've had a look at when all the best things to see are happening, watch these helpful tips from Stargazing Live's Mark Thompson, and you'll be a pro in no time.
WATCH: Mark Thompson's tips to get you stargazing. Remember, if you’re under 13 and thinking of downloading an app make sure your parent or guardian has given you permission first
Top tip: Using a red torch
Bringing a red torch with you on a stargazing escapade might seem like a strange suggestion, but hear us out.
Although for the most part you’ll want it to be as dark as possible in order to see the stars, there will be points where you’ll need to see what you’re doing, for example if you’re rummaging for a midnight snack.
When it’s dark, the pupils in your eyes dilate (get bigger) in order to let as much light in as possible, so you can see better in the dark. If any light hits them, they contract again, and it can take anything from 40 minutes to an hour before your night vision resets and you can see the constellations clearly again.
This means, every time you use your torch, you’re resetting the clock. Red light however gives you just enough light to see with, but doesn’t contract your pupils nearly as much as any other colour of light does, so it takes a lot less time to get your night vision back.
The part of your eyes that are responsible for making out shapes are called rods, and they don’t need very much light at all to activate, so a red torch will be all you need.

Still not quite ready to get out and look at the stars in the flesh? Well, we've got a fun activity from Stargazing Live that can help you see the constellations from the comfort of your living room.
Activity: Make a constellation viewer
WHAT YOU NEED
- Cardboard tubes from kitchen or toilet roll
- Scissors
- Black paper or card
- Pin
- Sticky tape or rubber band
- A protective surface cover
WHAT TO DO
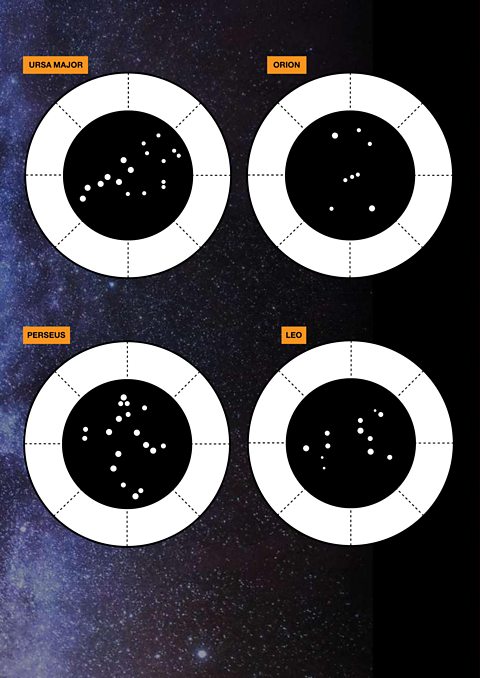
Print the constellations on the right to use as templates. Glue them onto black card or paper and cut each of them out carefully.
Cut alongside the marked dotted lines to create flaps.
Use your pin to carefully pierce each of the stars on the constellation templates. Place a magazine or protective surface beneath your cut out circles to stop the pin from pricking your finger or damaging the table.
Place one of the constellations with the printed side facing out over one end of your cardboard tube.
Fold down the flaps and fix it tightly using sticky tape, or if you use a rubber band instead, you can easily swap your constellations.
Hold it up against the light and look through the open end with one eye. Make sure you keep your other eye tightly shut. Can you see the constellation inside the tube?
Here's one our friends at the Royal Astronomical Society made earlier…
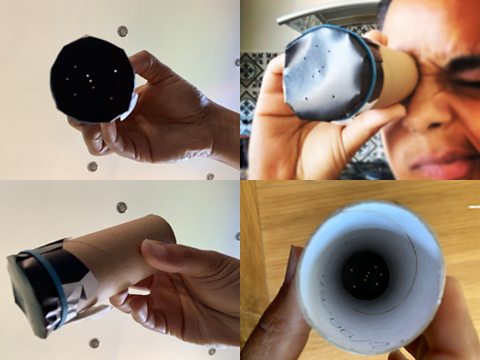 Image source, RAS
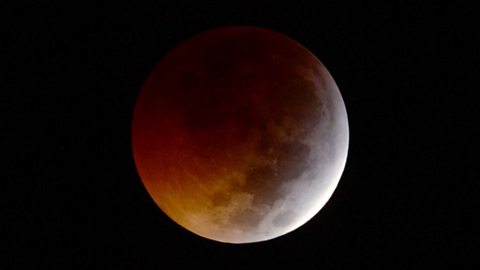
Things we get wrong about the Moon
We’ve taken some myths and legends about the moon and debunked them for you.
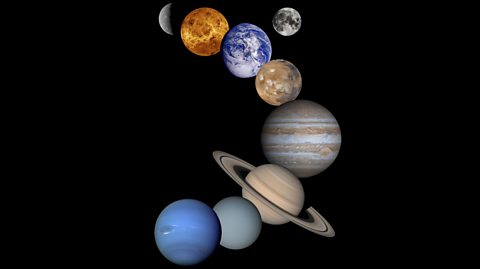
Ten things you didn't know about our Solar System
You'll be a star student once you've read this!
What on Earth can we see from space?
Spoiler alert: it's not the Great Wall of China...