Let's get creative!
Did you know that the sets for ballets and operas that appear on the stage at the Royal Opera House are created by a set designer?
For every show, the set designer makes a miniature version, so that all the people who build and paint the set and scenery, as well as all the performers, can see what the stage will look like.
In this activity, created in partnership with the , you and your child can make your own stage model at a 1:100 scale.
As there is a lot of cutting with scissors, think about how you can supervise or help your child in this activity, depending on their age.

Instructions to share with your child…
What you'll need:
- 2 cereal boxes
- 1 large piece of thicker cardboard for the base - cardboard from a packing box is best
- Scissors
- Ruler or set square
- Pencil
- Adhesive tack
- Glue stick or PVA glue
- Sticky tape
- Paint (optional)
Let's get started!
Step one
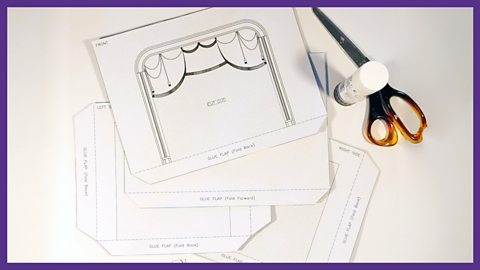
The first step is to print out a copy of the template, .
Check that you have five pages: a base, a front with the stage curtains, a back piece and two sides.
If you don't have a printer, we've provided measurements at the bottom of this page for you to draw your own template. There are also two tiny ballet dancers to perform on your stage when it is complete.
Step two
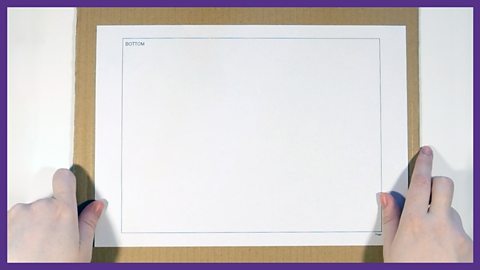
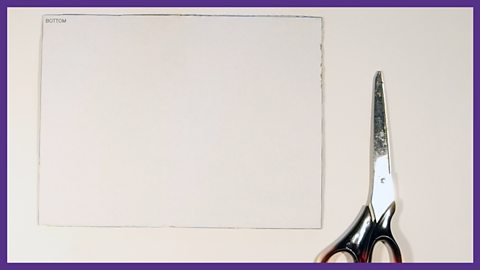
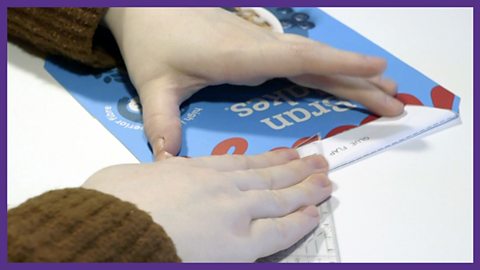
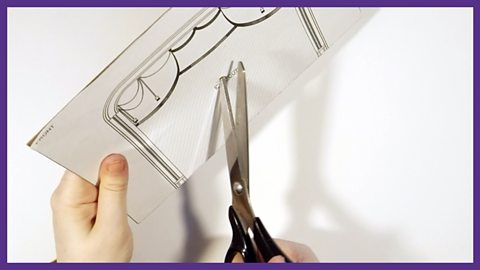
Stick the first sheet of paper - the template marked 'bottom' - on your piece of cardboard and cut around the line with a pair of scissors.
Step three
Flatten out one of your two cereal boxes by cutting down one long edge of it.
Stick down the 'front' and 'back' template pieces on the cereal box, like the picture below, and then cut these out.
Be careful not to cut off the folding tabs!
Then, repeat this process with the second cereal box, sticking the pieces marked 'left side' and 'right side'.
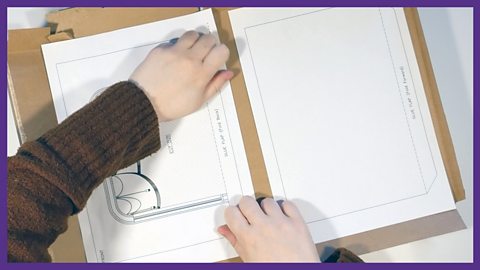
When you've finished cutting out the templates, they should look like this…
Step four
Glue the dancing figures from your main template onto a scrap of your cereal box that you haven't used.
Cut carefully around the figures, then fold back along the line so they stand up.

Step five
Make sure your front, back and two side pieces are neatly cut out and stuck down with no loose paper on any corners.
Using a ruler along the dashed line, fold the tabs - make sure you're folding in the direction indicated.
Step six
To cut out the shaded space on the front and sides, place the adhesive tack under the card and carefully stab a pencil through to the adhesive tack behind.
Use the newly-created hole to help start a cut safely, then cut out the shaded section to reveal the stage front (what's known as the 'proscenium arch').
Do the same for the left and right pieces.
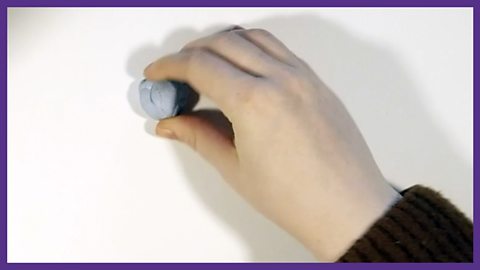
Image caption, Place the adhesive tack on a table or stable flat surface.

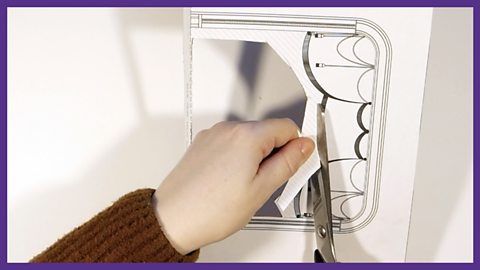
1 of 5
Step seven
Using glue or sticky tape, stick down the folded tabs into position on the base. It's best to glue the back first, then add the sides and finally the front.
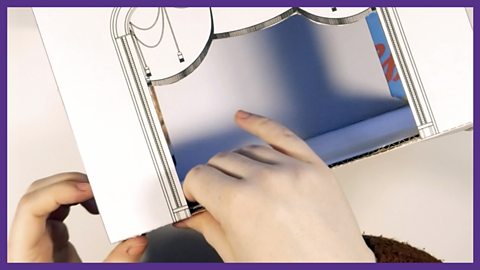
Step eight
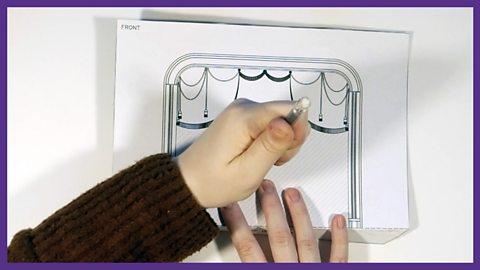
Once all of the pieces are stuck together, you can decorate your proscenium arch and curtains using coloured pens or paints.
When you've finished, either place your dancing figures into the box, or attach them to a long piece of leftover card, so that you can control their dancing from the side.
You have now made a 1:100 scale version of the Royal Opera House stage!
If you want to continue to make sets and props for your mini theatre, remember this simple scale rule: if an object is one metre in real life, it will measure one centimetre in your model stage. You can also use your dancing figures as a reference, making sure that your props look like they're in the right proportion to the height of a person.

Watch these instructions in action!
How to make a 1:100 scale theatre stage
If you don't have a printer:
You can draw your own template using the following measurements on a piece of A4 paper.
As you draw your template, compare it to the template at the top of this page, so that you can understand where the glue flaps go and where you will need to cut out the shaded sections.
The measurements
Bottom: 23.5cm x 17.5cm
Front: 23.5cm across x 16 cm high. Add a 1.5cm wide tab at the bottom of the front piece so you can glue this to your base. The arch starts 4.8cm from the outside edges (measure and make a small pencil mark from each outside edge). The top of the arch is 3.5cm from the top of the paper. Mark out the arch as a square and use something with a round edge to make the curved corners at the top. You can draw in the curtains freehand.
Back: 23.5cm wide x 16cm tall. Add a 1.5cm wide tab to the bottom for gluing to base.Two side pieces: 17.5cm wide by 16cm tall. Add flaps for gluing to the bottom (1.5cm wide) and at each side (each at 2cm wide). You need to cut out the middle of each side so you can slide scenery into your model box. Cut out the square so that it leaves a 2.5cm frame all around each piece.
Lastly, draw your two dancing figures - these are 2cm high and 1.5cm wide.
More from ±«Óătv Bitesize Parents' Toolkit…
Parents' Toolkit
Fun activities, real-life stories, wellbeing support and loads of helpful advice - we're here for you and your child.


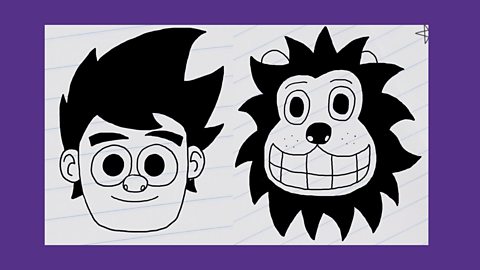
Creating a comic book - tips to help your child get started
Check out these free drawing tutorials with Beano Studios to help your child improve their comic art skill-set.
Seven skills a teenager can learn in one month
If your teen wants to shake up their free time, here are seven skills they can try.
Rob Biddulph's five tips to help you confidently draw with your kids
Rob Biddulph, author and official illustrator for World Book Day, has some great tips and tricks to share to help you draw with your kids.